Lenovo 15ARH05 - not booting
While working on my Lenovo 15ARH05 - the screen suddenly went blank, and the laptop wouldn’t boot anymore. Lucky that it failed on a Friday :)
After opening it up - I started checking for any shorts. It didn’t take me long to find the culprit. Pro tip: use diode mode. It will allow you to “home in” where the short is. Give it a try. Here’s a picture of the shorted cap - straight across the 19V rail, where power is being supplied to Vcore.. uh oh :) Can you see which of the two is cracked?
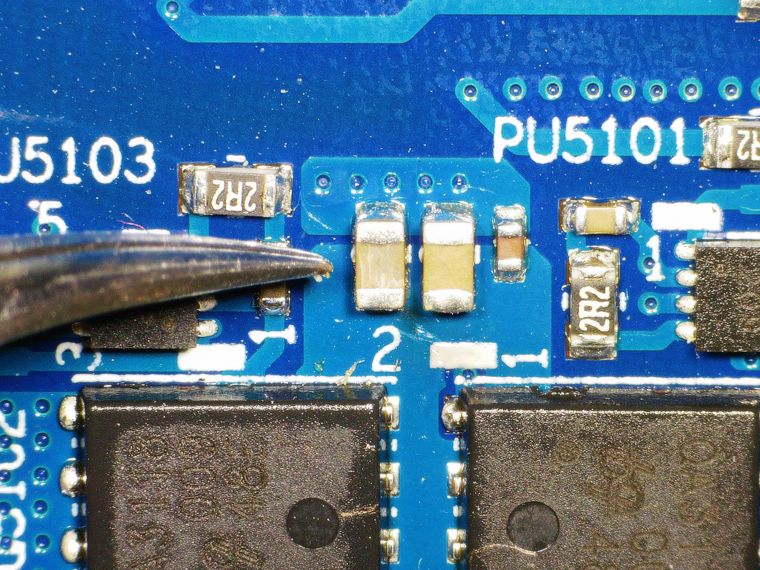
I went ahead and replaced both anyway, it’s only a couple of cents. It’s a 10uF cap. Make sure to get as high as possible in voltage rating. Certainly above 25V…
After replacing the cracked capacitor - I connected the power and… Nothing. Still dead in the water. I started looking for more shorts, and lo-and-behold - another short popped up near a regulator.
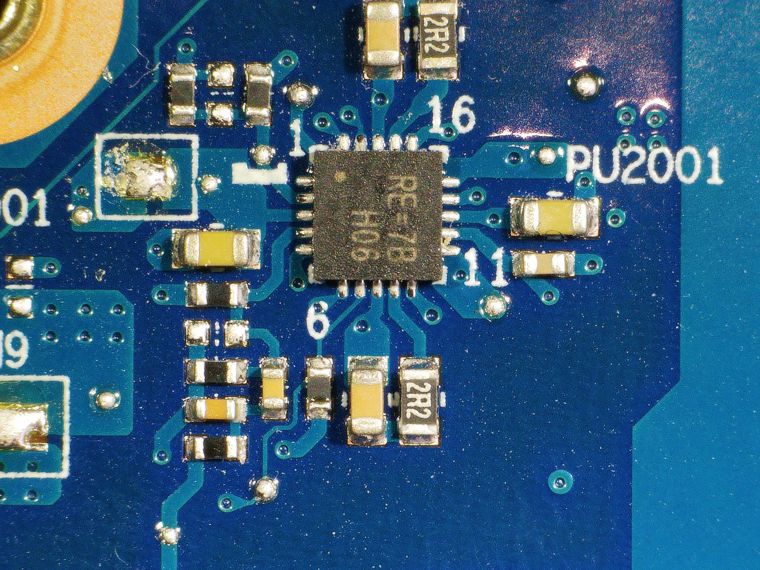
This regulator, marked as “RE=7B H06” (what’s in a name?), is actually an RT6585 Dual-Channel 5V/3.3V step-down controller. When applying power, it gets quite hot. The short seemed to be coming from PIN 3. The cap wasn’t shorted, as the measurement in diode mode was still too high when directly probing it. Luckily, Lenovo has supplied us with a jumper pad, allowing us to disconnect the regulator from any load. (The solder blob to the left of the regulator). Upon opening up that jumper, and supplying power, the laptop was still dead, but the short and heat were gone, and a normal 3.3V could be seen on the output of the regulator.
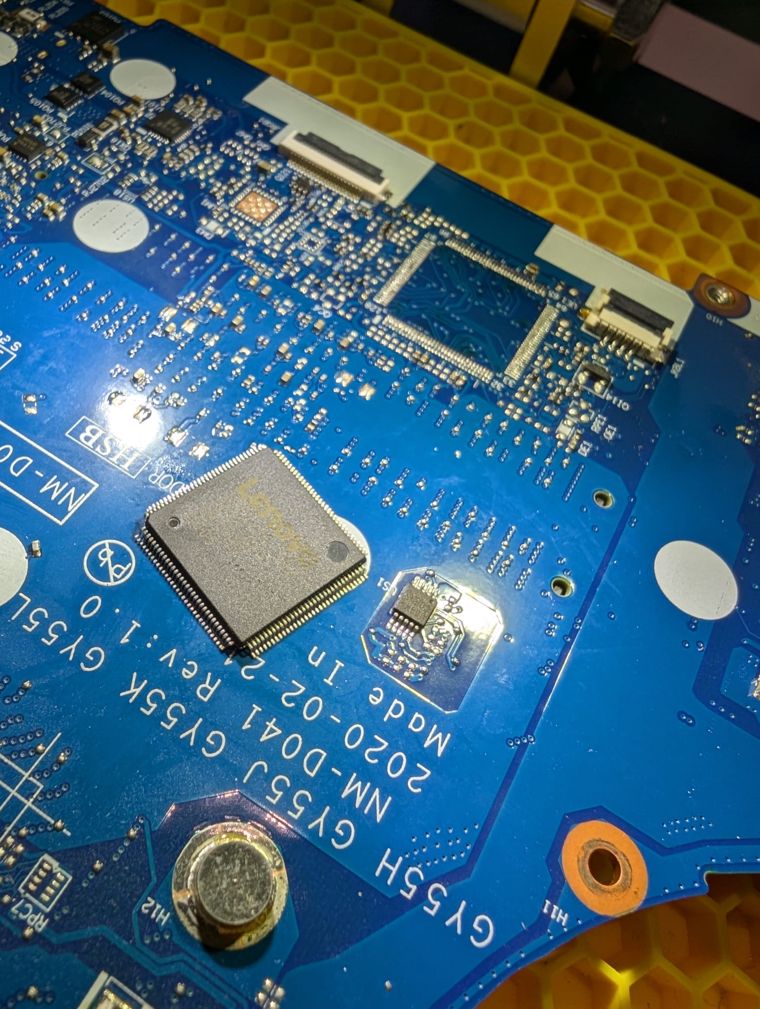
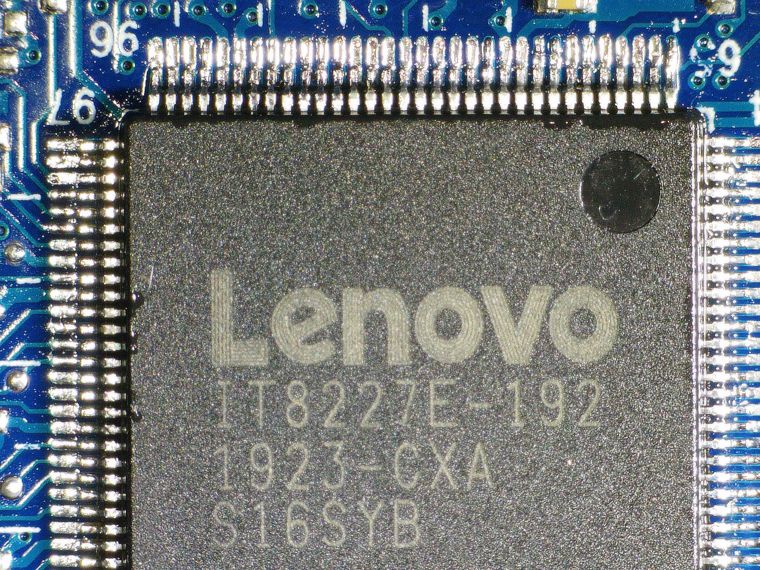
I tried to find some trace of this 3.3V rail, and I luckily found some caps around the ITE chip (marked with Lenovo). They all indicated a short.. but not enough for them to be the actual culprits. I then reverted to power injection to find the fault upstream, as I had no schematic. I soldered a positive wire to the jumper location near the regulator, and one to ground, and started injecting power, in the hope of seeing which part would be faulty.
Guess what heated up.. Yep, that ITE chip. Off it goes!
Now what? I can’t just replace it with a stock chip from somewhere.. it needs programming.. Luckily.. Ebay to the rescue. I found a store which sells these pre-programmed. I looked it up with the motherboard code name: “NM-D041”, and found a match.
All right - time to clean up, and get ready to transplant it.
And time for the new chip to be soldered in place.
Now, before I soldered the jumper back in place near the regulator, I again fed in that 3.3V, but heavily current-limited. Looks fine, no more shorts. I soldered the jumper back, put everything together and …
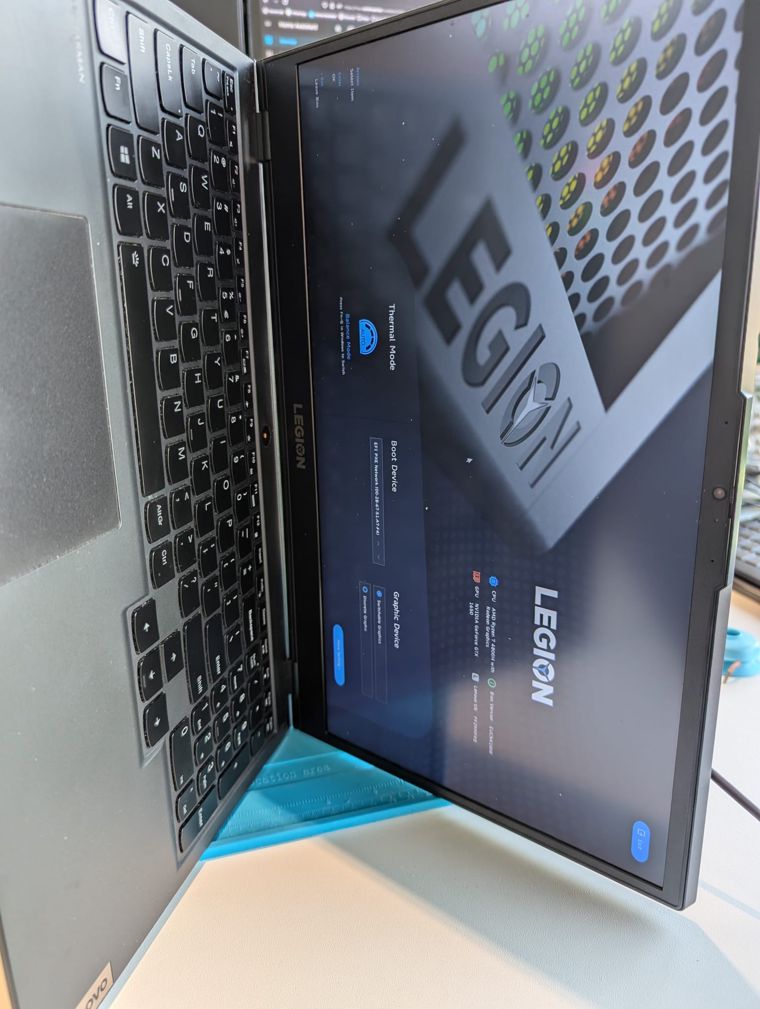
Excellent! - one happy laptop again.
Happy fixing! - 73 de ON8AD
